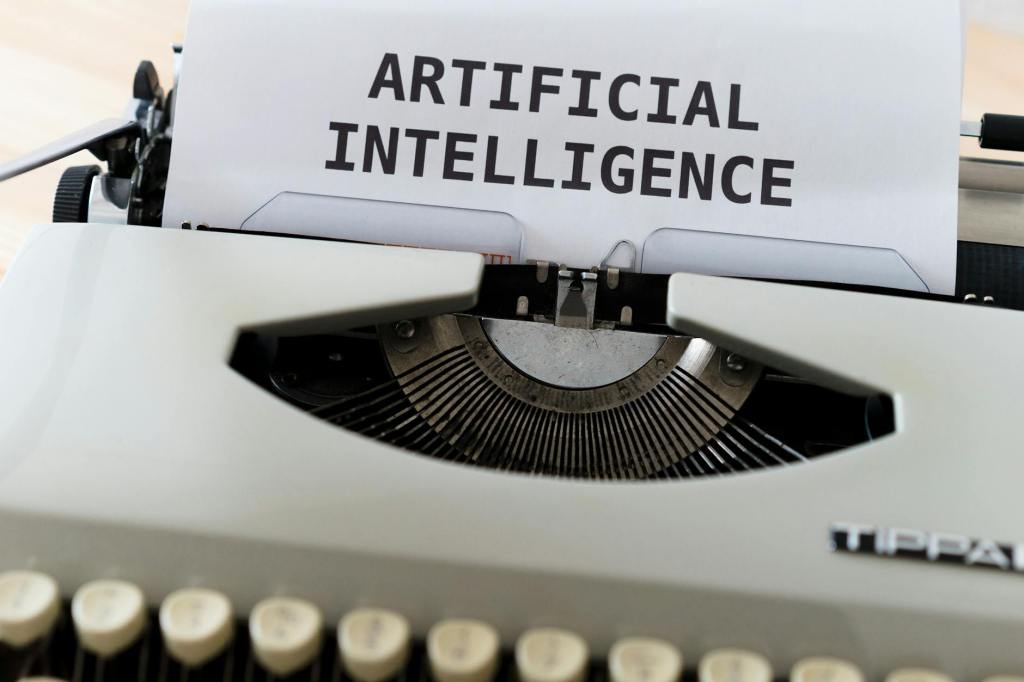
Author: Robert

  • FoundryVTT on Google Cloud – Part 1

    FoundryVTT on Google Cloud – Part 1

    I wanted to set up a Google Cloud server using their free tier and figured doing it for FoundryVTT would be a fun experiment.

    My goals were:

    • Create a vm in Google Cloud’s free tier
    • Create a kill switch if billing went over $50 in a month
    • Set up a proxy server for security purposes and to allow letsencrypt to work without opening up 443 to the world
    • Set up firewalls so that I could add and remove IP access to specific hosts
    • Manage this using Ansible

    Requirements

    You need to install the Google Cloud CLI. Since I’m on Linux, I did this:

    sudo dnf install google-cloud-cli python3-google-auth

    Follow Google’s documentation to initialize gcloud and authenticate. You shouldn’t need to create the project; the playbook will create it. I did the following:

    gcloud auth init
    glcloud auth login
    gcloud components install beta

    You will need your billing account number. If you go into billing in Google Cloud, you should see an ID embedded in the URL in the format of letters and numbers, ######-######-######.

    Preparing the Project

    I first created a folder for this project and created the necessary starting pieces:

    mkdir -p foundryvtt/group_vars foundryvtt/scripts foundryvtt/templates foundryvtt/safety_net_code

    requirements.yml

    We need the google.cloud collections for Ansible. We put this in requirements.yml:

    collections:
    - name: google.cloud

    inventory

    Now to create the inventory file:

    [localhost]
    127.0.0.1 ansible_connection=local
    [foundry_servers]
    TBD

    Once we get the public IP we can update DNS for our domain and update the TBD to the FQDN we’ll be using.

    group_vars/all.yml

    Now we need to create the group_vars/all.yml file.

    ---
    # GCP Project Configuration
    project_id: "REPLACE_WITH_DESIRED_PROJECT_NAME"
    billing_account: "REPLACE_WITH_BILLING_ACCOUNT"
    region: "us-west1" # Use one of the free regions
    zone: "us-west1-b" # Use one of the free zones within the free region
    # Infrastructure Details
    instance_name: "REPLACE_WITH_DESIRED_INSTANCE_NAME"
    machine_type: "e2-micro" # Free Machine Type
    image_family: "projects/debian-cloud/global/images/family/debian-12" # Free image family...
    network_tag: "foundry-server" # Network tag
    # Safety & Billing
    budget_name: "Lab-Safety-Budget"
    budget_limit: 50.0
    topic_name: "budget-kill-switch"
    # SSL & Domain Configuration
    domain_name: "TBD"
    admin_email: "REPLACE_WITH_DESIRED_EMAIL_ADDRESS"
    foundry_port: 30000
    # Default IP Management
    # This is used as a fallback or starting point for whitelisting
    allowed_ips:
    - "REPLACE_WITH_MY_PUBLIC_IP/32"
    ansible_user: REPLACE_WITH_GOOGLE_USER # Name before the @gmail.com used for gooogle cloud
    ansible_ssh_private_key_file: '~/.ssh/gcp-foundry' # This was created automatically from glcloud init
    ansible_ssh_common_args: '-o StrictHostKeyChecking=no' # For now we're not worried about man in the middle attacks
    • project_id – can be any legal Google Cloud option like my-foundry-vtt-free
    • billing_account – See above
    • region and zone
      • Some of these won’t have resources, so you have to test and change accordingly
      • region – One of the free regions
      • zone – The zone within the free region
      • As of date of this document, the free regions and zones are:
        • us-east1 (South Carolina): Zones us-east1-bus-east1-cus-east1-d
        • us-west1 (Oregon): Zones us-west1-aus-west1-bus-west1-c
        • us-central1 (Iowa): Zones us-central1-aus-central1-bus-central1-cus-central1-f
    • instance_name – Any legal instance name, like my-foundrry-vtt-server
    • machine_type – Only the e2-micro is in free tier (as of date of this document)
    • image_family – Fedora can be used, however, debian has a longer life cycle
    • network-tag – A tag to associate firewall rules with the instance
    • budget_name – Name of budget to create
    • budget_limit – Threshold amount to shutdown everything
    • topic_name – Required topic name
    • domain_name – Used for setting up ssl, will be whatever you set up in dns
    • admin_email – Email to use for SSL config
    • allowed_ips – This uses your public IP of the host you’re using to configure google cloud. For instance, use IP Chicken or similar to find your public IP
    • ansible_user – The user part of the user@gmail.com
    • ansible_ssh_private_key_file – Private key file created to access the instance
    • ansible_ssh_common_args – For now, we’re not worried about man in the middle

    templates/foundry_nginx.conf.j2

    We need to configure nginx as a proxy. Note, we could change the port 30000 to something else here or by var:

    server {
    listen 80;
    server_name {{ domain_name }};
    return 301 https://$host$request_uri;
    }
    server {
    listen 443 ssl;
    server_name {{ domain_name }};
    ssl_certificate /etc/letsencrypt/live/{{ domain_name }}/fullchain.pem;
    ssl_certificate_key /etc/letsencrypt/live/{{ domain_name }}/privkey.pem;
    # Performance Tuning for Foundry
    client_max_body_size 300M;
    location / {
    proxy_set_header Host $host;
    proxy_set_header X-Real-IP $remote_addr;
    proxy_set_header X-Forwarded-For $proxy_add_x_forwarded_for;
    proxy_set_header X-Forwarded-Proto $scheme;
    proxy_set_header Upgrade $http_upgrade;
    proxy_set_header Connection "Upgrade";
    proxy_pass http://127.0.0.1:{{ foundry_port | default(30000) }};
    }
    }

    safety_net_code/requirements.txt

    We need some python libs, we put this in requirements.txt:

    functions-framework==3.*
    google-api-python-client==2.*
    google-auth==2.*

    safety_net_code/main.py

    For full disclosure, I used Google Gemini to create the following. It required a lot of back and forth to get something that worked for me.

    I acknowledge that there are a lot of ethical, social, economic, and environmental issues with AI. Because of many factors, I am compelled to use it. However, I do try to use it sparingly and transparently.

    You need this for the budget kill switch:

    import base64
    import json
    import functions_framework
    from googleapiclient import discovery
    @functions_framework.cloud_event
    def stop_billing_limit(cloud_event):
    # Determine the project ID
    project_id = 'REPLACE_ME_WITH_PROJECT_ID'
    # Gen 2 events wrap the Pub/Sub message in cloud_event.data
    if 'message' in cloud_event.data:
    message_data = cloud_event.data['message'].get('data', '')
    else:
    print("No message data found in CloudEvent.")
    return
    if not message_data:
    return
    # Decode and check budget
    decoded_message = json.loads(base64.b64decode(message_data).decode('utf-8'))
    cost = float(decoded_message.get('costAmount', 0))
    budget = float(decoded_message.get('budgetAmount', 0))
    print(f"Audit: Current cost {cost} against budget {budget}")
    # Trigger shutdown if we are at or over budget
    if cost >= budget:
    print("Threshold reached. Initiating project-wide shutdown...")
    compute = discovery.build('compute', 'v1', cache_discovery=False)
    request = compute.instances().aggregatedList(project=project_id)
    while request is not None:
    response = request.execute()
    for zone_path, instances_in_zone in response.get('items', {}).items():
    # Extract zone name from the path (e.g., 'zones/us-west1-b')
    zone = zone_path.split('/')[-1]
    for instance in instances_in_zone.get('instances', []):
    if instance['status'] == 'RUNNING':
    name = instance['name']
    print(f"Stopping {name} in {zone}...")
    compute.instances().stop(
    project=project_id,
    zone=zone,
    instance=name
    ).execute()
    request = compute.instances().aggregatedList_next(request, response)

  • Joplin Server with Podman and Quadlets (2025 Edit)

    Joplin Server with Podman and Quadlets (2025 Edit)

    Prepare Environment

    The /tmp folder needs to be mounted on tmpfs (or ramfs…)

    sudo systemctl enable --now tmp.mount
    

    Open port in software firewall

    sudo firewall-cmd --permanent --add-port 22300/tcp
    sudo firewall-cmd --reload
    

    Create joplin user and add subgid and subuid values. The range size below is probably not really necessary…

    sudo useradd -m -c "Joplin Container User" joplin<br>sudo usermod --add-subuids 100000-165536 --add-subgids 100000-165536
    

    Create central storage for sync data (adjust for your environment)

     sudo mkdir -p /appdata/joplin
     sudo chown -R joplin:joplin /appdata/joplin
     sudo chmod 2777 /appdata/joplin
     sudo semanage fcontext -a container_file_t "/appdata/joplin(/.*)?"
     sudo restorecon -Rv /appdata/joplin/
    

    Login as joplin user. Note you can not use su here because it will require a login shell. Alternately you can

    sudo machinectl shell joplin@
    mkdir -p ~/.config/containers/systemd  # For Quadlet files
    mkdir -p ~/cvols/postgres              # For database
    

    Set up reverse proxy (optional) if you don’t want to expose the port

    proxy_set_header X-Forwarded-Host $host;
    proxy_set_header Host $host;
    proxy_set_header X-Forwarded-For $proxy_add_x_forwarded_for;
    proxy_set_header X-Forwarded-Proto $scheme;
    proxy_set_header X-Real-IP $remote_addr;
    
    location /joplin/ {
        proxy_redirect off;
        rewrite	^/joplin/(.*)$ /$1 break;
        proxy_pass http://127.0.0.1:22300/joplin;
    }
    

    Create Podman secrets via environment variables

    export POSTGRES_PASSWORD='blah'
    export POSTGRES_USER='blah'
    export MAILER_AUTH_PASSWORD='blah'
    export MAILER_AUTH_USER='blah'
    podman secret create mailer_auth_password --env MAILER_AUTH_PASSWORD
    podman secret create mailer_auth_user --env MAILER_AUTH_USER
    podman secret create postgres_password --env POSTGRES_PASSWORD
    podman secret create postgres_user --env POSTGRES_USER
    

    Or Create Podman secrets using echo

    echo -n 'blah' | podman secret create mailer_auth_password -
    echo -n 'blah' | podman secret create mailer_auth_user -
    echo -n 'blah' | podman secret create postgres_password -
    echo -n 'blah' | podman secret create postgres_user -
    

    Either of the methods run the risk of your password being in your shell history. Either clear your history when done, or configure your history to ignore echo and export lines, or ignore lines starting with a space and preface all commands with a space.

    Quadlet Setup

    Create three files in your ~/.config/containers/systemd folder

    The jsync.network file contents (alter to suit your needs)

    # jsync.network
    [Network]
    Subnet=192.168.30.0/24
    Gateway=192.168.30.1
    Label=app=joplin
    

    The jsync_app.container file (adjust for your environment, per what you created above)
    Note: Replace myserver, smtp_server with your server name and your smtp server name respectively.

    # jsync_app.container
    [Unit]
    Requires=jsync_db.service
    After=jsync_db.service
    
    [Container]
    Environment=APP_PORT=22300
    Environment=APP_BASE_URL='http://myserver/joplin'
    Environment=DB_CLIENT=pg
    Environment=POSTGRES_DATABASE='joplin'
    Environment=POSTGRES_PORT=5432
    Environment=POSTGRES_HOST='myserver'
    Environment=MAILER_ENABLED=1
    Environment=MAILER_HOST='smtp_server'
    Environment=MAILER_PORT=587
    Environment=MAILER_SECURITY='starttls'
    Environment=MAILER_NOREPLY_NAME='Joplin'
    Environment=MAILER_NOREPLY_EMAIL='noreply@localhost'
    Environment=STORAGE_DRIVER='Type=Filesystem; Path=/sync_data'
    Environment=STORAGE_DRIVER_FALLBACK='Type=Database; Mode=ReadAndClear'
    Image=docker.io/joplin/server:latest
    PublishPort=22300:22300
    Volume=/appdata/joplin:/sync_data:z
    Network=jsync.network
    Secret=postgres_password,type=env,target=POSTGRES_PASSWORD
    Secret=mailer_auth_password,type=env,target=MAILER_AUTH_PASSWORD
    Secret=mailer_auth_user,type=env,target=MAILER_AUTH_USER
    Secret=postgres_user,type=env,target=POSTGRES_USER
    
    [Service]
    Restart=always
    
    [Install]
    WantedBy=multi-user.target default.target
    ```
    

    The jysnc_db.container file (adjust per your environment per what you created above)

    # jsync_db.container
    [Container]
    Environment=POSTGRES_DB='joplin'
    Image=docker.io/postgres:16
    PublishPort=5432:5432
    Volume=/home/joplin/cvol/postgres:/var/lib/postgresql/data:z
    Secret=postgres_password,type=env,target=POSTGRES_PASSWORD
    Secret=postgres_user,type=env,target=POSTGRES_USER
    Network=jsync.network
    
    [Service]
    Restart=always
    

    Now update systemctl

    systemctl --user daemon-reload
    systemctl --user start jsync_app.service
    

    If you get invalid origin error and are running selinux, you may need to

    setsebool httpd_can_network_connect true